Setup player via screen/display connected to Harmony through HDMI
If you are unable to use the app and want to access your player settings, you have the option to connect your player to a monitor via the HDMI input. NOTE: This step is not required for music playback.
Hit the back button on Harmony’s remote control to navigate to Harmony’s main menu.
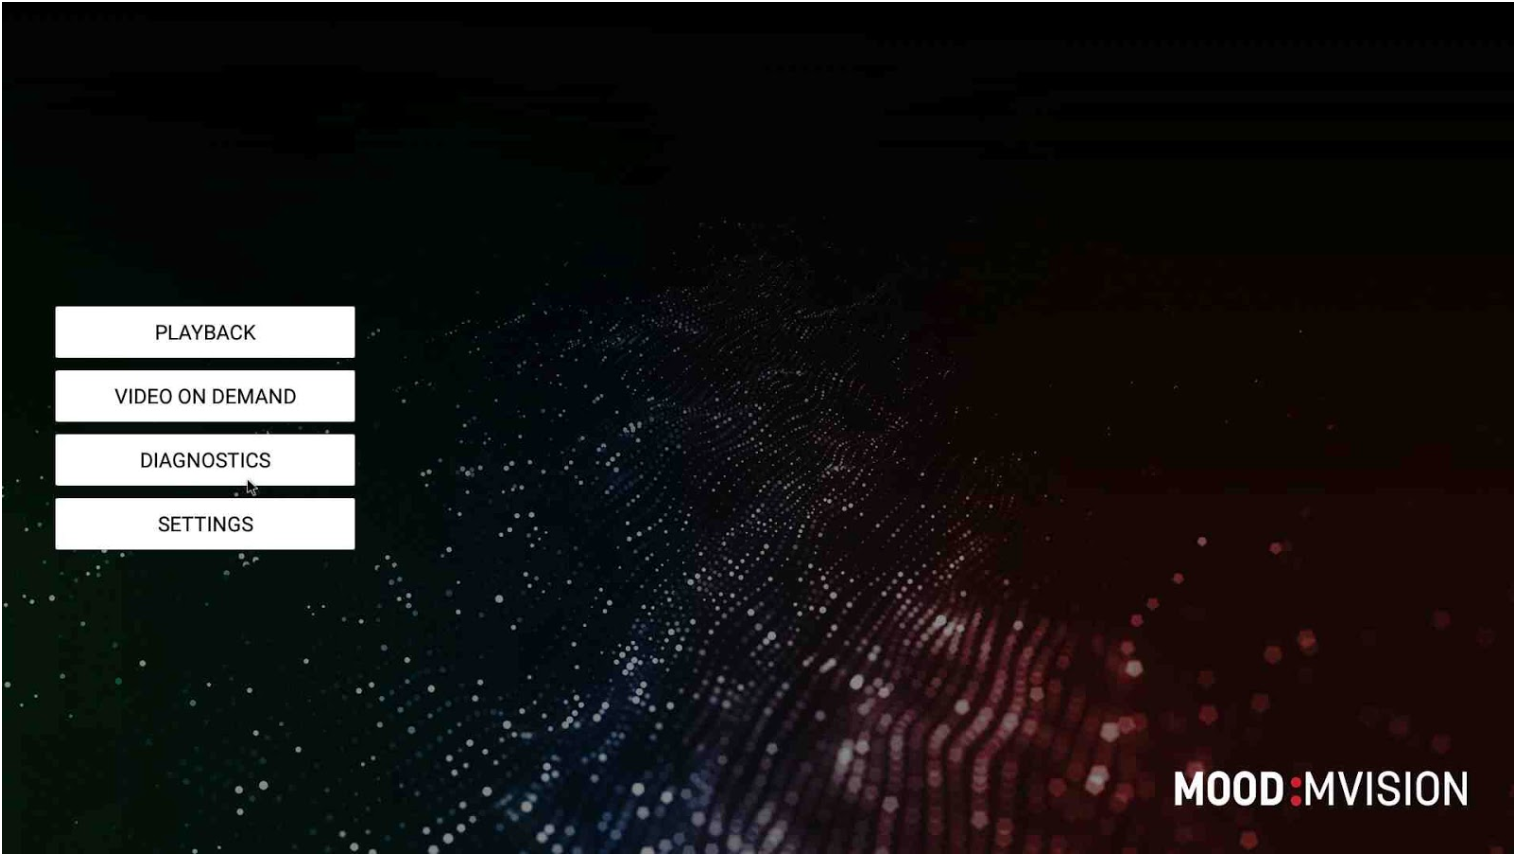
Using the up and down arrows on the remote control, navigate to the SETTINGS button and press OK to select the menu.
If you’d like to connect your player via WiFi:
Select the WiFi Menu and enable the “WiFi State”.
You should see a list of available WiFi networks, select your desired network and enter the password (if needed).
Once the player is successfully connected to the WiFi network, the network will show as CONNECTED.
Navigate out of the settings menu and back to the MVision Menu Screen.
If your player is connected to the internet, the Network light will remain solid green.
If your Network light is anything other than green, see the LED Control Guide for troubleshooting.
If you’d like to setup an Advanced Wired Connection:
Select the Ethernet Menu and check that the “Ethernet State” is enabled.
Select “Configure Ethernet Settings”.
From here you can configure the IP Address, Gateway, Netmask, and DNS.
After changing any settings, navigate back to the MVision Menu Screen.
If your player is connected to the internet, the Network light will remain solid green.
If your Network light is anything other than green, see the LED Control Guide for troubleshooting.
Checking Connectivity:
Once you are done setting the network, return to the Home screen using the back button on the remote control and navigate to the DIAGNOSTICS menu to check connectivity.
If everything is connected properly, you’ll see a green Server Connectivity OK message.

Return to the SETTINGS menu in the event your player does not appear to be connecting.
Once everything is set up correctly, select the PLAYBACK button from the Home screen.
Related Articles
How to reboot your player
Instructions on how to reboot your Mood Media visual or music player.
Tablet swipe codes
Harmony Visual tablet swipe codes.
Video monitor displays “Please contact Customer Support at 800-331-3340 for assistance”
What to do if Harmony Visual video monitor displays “Please contact Customer Support at 800-331-3340 for assistance”
Video monitor displays “Cannot find Mood Media folder”
Instructions for Harmony Visual player if the video monitor displays “cannot find Mood Media folder”
Video monitor only displays a clock
MVision video monitor only displays a clock instead of video content.
Video monitor displays “Enter Current Password”
MVision video monitor displays “Enter Current Password”
How to set up Profusion iS WiFi connectivity
Instructions for setting up your ProFusion iS WiFi connectivity
Test connection result: “File Directory Error”
Instructions for ProFusion iS visuals when the test connection result displays: “File Directory Error”
Test Connection Result: “Authentication to Proxy Server Failed”
Instructions for ProFusion iS visuals when the test connection result displays: “Authentication to Proxy Server Faiiled”
Test connection result: “Test Failed, Connection Error”
Instructions for ProFusion iS visuals when the test connection result displays: “test failed, connection error”